Saturday, September 24, 2011

Photo Guide
First things First - Here’s what you’ll need
1 . Space :
• A clean, open
room is best; the more space, the less obscenities emitted.
• A small card
table is great for positioning work.
• Fishing line,
clamps, and cheap stands can be used to “float” your work instead
of standing it on a table.
• Control your
light. Make sure you can turn off or block any light sources in the
room. Make sure you are putting light
where it needs to
be, and not letting the environment put light where it shouldn’t.
2 . Equipment :
• White Seamless.
A roll 54” wide roll of seamless paper will set you back about $30.
The paper gives a clean - and more
importantly - smooth
background to shoot your work against.
• CFL in a
clamp-able work light. Cheap and bright, one (or two) of these will
give you controllable light by which to
photograph your
work. A continuous light source ensures WYSIWYG lighting and helps
you gauge proper light placement.
(Check out Home
Depot or similar, should be about $10 each).
• Bed sheet. Or
any white cloth for that matter. Placed between your work and your
light the sheet will act as a diffuser.
• Plexiglas. A
black sheet will do you wonders. It will take on the color of your
backdrop while adding a sweet reflection of
your project. This
stuff can be hard to find and doesn’t come cheap, so don’t sweat
it if it isn’t in the budget.
• Do not discount
the value of cereal box cardboard, tape and creativity. Many a
creative battle has been won in the studio
with these three
things.
3. camera :
• Something
offering full manual control. This is pretty much non-negotiable. You
will need a little basic knowledge to
go along with those
dials; we suggest Google. On that note, set your aperture to f/8 and
adjust your shutter speed for
proper exposure.
• Interchangeable
lens cameras are best: better image quality, better lenses, more sex
appeal.
• Shoot RAW if
your camera supports it, you will get more out of images during the
editing process this way.
• If you shoot
RAW, you can skip the white balance and deal with it in Photoshop
later. If you shoot JPEGs you better
remember to check
those settings beforehand.
4. Shoot ing :
• Again, control
that room. Kill any lights you don’t want in your shot.
• Move, position,
and shape the lights you can control to light the scene where you
want and how you want.
• The bigger your
diffusion material, the softer the light on your subject will be.
• The closer your
light is to your subject, the softer it is in appearance.
• Big, soft light
will minimize harsh highlights if your projects include shiny or
reflective surfaces.
• Mirror lock-up
or your cameras self-timer ensure that you aren’t touching the
camera when it actually makes the
photograph (and you
are using that tripod... right?).
• Want a white
background? Throw some light on that seamless paper for a crisp and
clean high-key setup.
• Want a black
background? Just don’t allow any light to reach your background,
whatever color it may be. This is where
the cereal boxes and
duct tape come in handy.
P r o c e s s
1 . Set up yo ur Set
up :
• Locate a good
space to set up. Set up a table next to a wall with plenty of space
on either side. If you are using a larger
table, push it
against the wall. If you are using a smaller table, pull it off the
wall a little.
• Tape one end of
your seamless to the wall, as high as you’re able. The idea is to
ensure that no color will be reflected off
the painted wall
onto your subject.
• Roll out the
paper down the wall, and onto the table. You want a reasonably smooth
transition from the paper against
the wall to the
paper flat on the table.
• Position your
portfolio piece how you will on the table.
2 . Lights :
• Find solid
supports to clamp your lights to. The light sources should be to the
sides and above the subject.
• Find a way to
hang a diffusing sheet between your light source and your subject.
The easiest way to do this is to pin it to
the ceiling.
• Turn your lights
on and all the other lights in the room off. Point your lights at
your subject and look closely at how the
light is
representing it. Make bigger adjustments now.
3. Ca mera :
• Make sure that
you are shooting in a RAW file format.
• Get that camera
on a tripod. Check to ensure that your lens is at the higher end of
it’s focal range. Move your camera
closer to the
subject or further away as needed for the sake of scale.
• Work up that
perfect composition.
• Set your ISO
low, your aperture to f/8, and then adjust your shutter speed based
on the light meter.
• Shoot a photo
and adjust your shutter speed to produce a good exposure.
4. Shoot ing :
• Shoot a photo,
and review it. Pay special attention to where you are seeing
highlights and reflections, where your
subject is casting a
shadow, and how the light is representing your subject.
• Make any changes
to your setup necessary. Move your lights, add more diffusion, add a
reflector. Re-adjust your
exposure to ensure
your image is exposed correctly.
5. Editing :
• Pull your photo
off your camera and onto you computer.
• Open your photo
up in a RAW editing program - Photoshop CS3 and later, or Lightroom
will both work well.
• Adjust your
sliders for exposure. Make sure to not blow out whites on your work.
Also make sure to not crush the details
in your blacks.
• Make sure that
your color balance is correct - use your work as a reference so that
you are able to match colors as close
as possible.
• Most Mac screens
are calibrated fairly well when they are new. Older screens will
start to shift colors and luminance.
You may need to
print your photos to ensure they are accurately represented, and make
changes to your file accordingly.
• In photoshop,
clone, heal and patch blemishes and imperfections on your projects as
needed.
• Remember - you
can always shoot a blank paper mockup of your project, be it a label,
tag, business card, etc. and then
place your digital
files on top. You’re going to have to watch some “How to”
videos for that one though.
H e l p f u l T e r
m i n o lo g y
1 . Aperture :
A mechanical
diaphragm, made of blades in the camera lens that work together like
the iris of your eye to allow more or less
light through the
lens and on to the sensor. Measured with numbered “stops” that
correlate to how much light is allowed in.
2 . Shutt er Speed :
How fast the shutter
of your camera opens and closes in order to produce an exposure
3. IS O :
A setting that
controls how sensitive your camera’s sensor is to light. A higher
ISO means that your sensor will expose an
image more quickly.
Lower ISO settings will produce a cleaner image.
4. White Balance :
Light sources are
often imperfect, and different lights can produce warmer or cooler
tones. This can be compensated for
in-camera or in
Photoshop so your whites appear white.
5. Focal Length :
How “zoomed in”
a lens is. Based on the 35mm film camera standard, a 50mm lens is
considered the focal length that
produces an image
with perspective most similar to human perception. Using a focal
length greater than 50mm will “flatten”
your perspective,
which will produce a more objective representation of your work.
Shooting between 80mm and 135mm is
often considered the
standard.
6. Key Light :
Your main light
source.
7. Fill Light :
Any secondary light
source, in order to further light your subject.
8. Rim light :
A light that casts a
highlight along the edge of the subject in order to differentiate it
further from the background.
9. ba ckground light
:
A light shone on the
background to light it, or blow it out to white.
10. Diffusion :
Light from a bare
bulb is harsh; it will create hard-edged shadows that are
undesirable. Diffusing light in any number of ways
will cast more
desirable light with softer edges and better modeling properties.
1 1 . Ra w format :
The native “digital
negative” file format in your camera. Nikon will shoot .NEF, and
Canon will shoot .CR2 files. RAW files
contain more
information than .JPEG files, and are easier to edit. They also make
it easier to compensate for mistakes.


The Claw-Dropping Down
Shaded in Photoshop

Color Filled in Illustrator

Hand Drawn

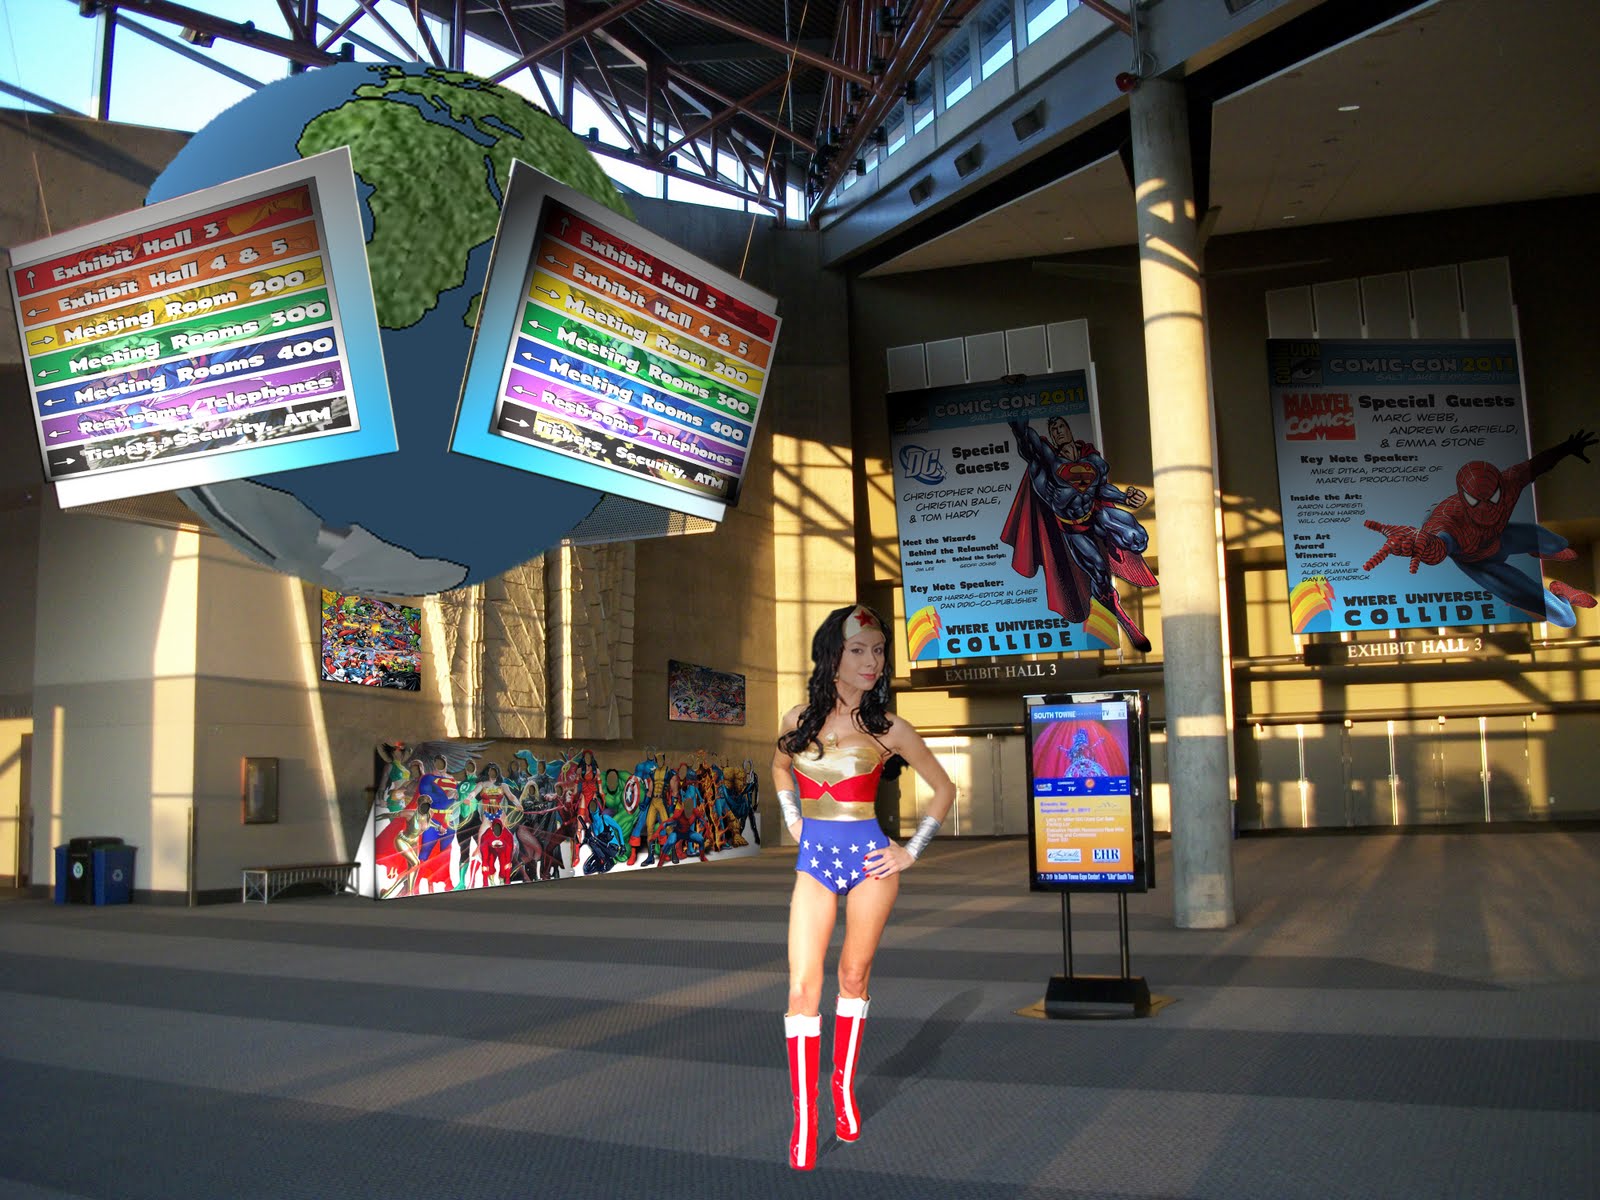
Since this was a comic book convention, or at least a media cornucopia, I wanted to be able to feature my own graphic novel's main character.

Color Filled in Illustrator

Hand Drawn

Since this was a comic book convention, or at least a media cornucopia, I wanted to be able to feature my own graphic novel's main character.
Mood Board

The purpose of a Mood Board is to supply visual representation regarding the emotion, direction, and overall drive of a project.
For the Enviornmental Design assignment I wanted to create a fast-paced, energetic, and exciting mood.
Bug Buster-In class assignment

For this assignment we were given many random items it choose from. In an hour or so we had to create an additional product purpose for the item and make a package for it.
I chose a small clip used for office sorting and re-purposed it to be used for crushing bugs. The package is a 1'x1'x1' square package with a 1' high back so that it could be hung or stacked on shelves.
Package Design-Final 1

Front

Front Open

Back Open

Front Seperated

Back Seperated
This assignment was to pick a non-physical item, concept, emotion, or thing and create a package for it in black and white.
I picked the emotion, "Amore" which is romantic love. Since I had previously created a love-based package in my Package Design class I hoped to create a similar product so the two could be displayed as part of a series.
Although it was black and white, many could see the colors of the two products when displayed together. Others believed the black and white version was better, indicating that the silver ribbon was elegant just the way it was. I agreed, indicating that it gave me the sense of an anniversary gift.
Other comments included how the shiny ribbon gave the rest of the package itself a shiny aspect, even though it was not.
Completed Template-1 Front

For the assignment I followed many similar design concepts as my Package Design class' Soap Box assignment. I was hoping to create a follow-up product box so the two could be displayed side by side.
Although this assignment called for the assignment to be in black and white the similarities are obvious. During the presentation of the final product I showed my Soap Box and this assignment together. Many could see the intended colors in their mind's eye for this assignment when it sat next to the previous one.


Photos of Package before printing


The idea is a heart-shaped package that consumers would pull from the top. The product would then be inside a seperate compartment underneath.
Original Templates-1 Front & Back

I wanted to do an original box that I envisioned in my mind. I also wanted to be able to create my templates at home. That meant I had to restrict my templates to an 8.5 X 11 paper so that they could be printed from our printer.
So, I first drew the template out by hand. Then I scanned them into the computer and lastly drew them out in Photoshop to create these templates.
Thursday, September 22, 2011


Subscribe to:
Comments (Atom)